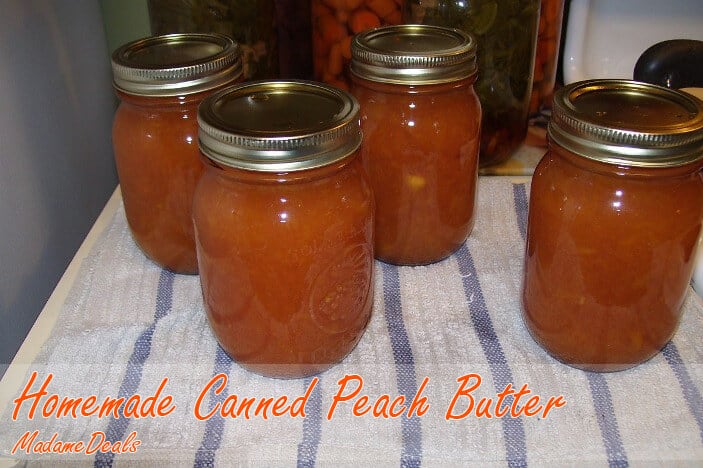
Homemade Canned Peach Butter
Get ready to savor the sweet taste of summer with Homemade Canned Peach Butter! This smooth, flavorful spread is the perfect way to capture the essence of ripe, juicy peaches in a jar. Whether slathered on toast, stirred into yogurt, or used as a dessert topping, this homemade peach butter is both delicious and versatile. Plus, it makes a thoughtful, homemade gift that anyone would love to receive. Make a batch and enjoy the taste of summer all year long!
Homemade Canned Peach Butter
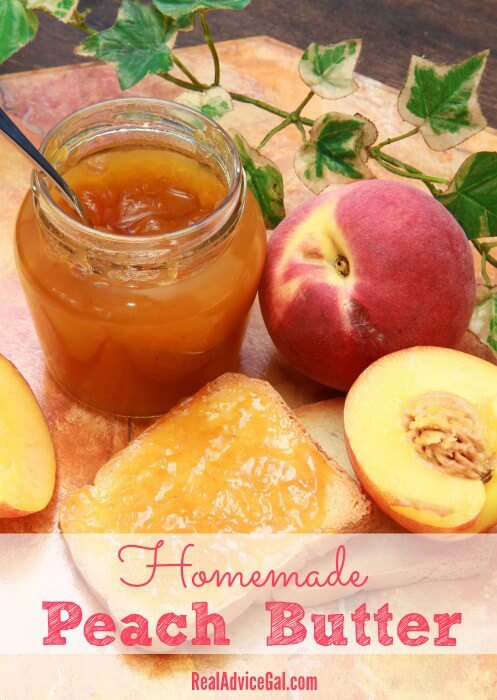
I wanted to start canning my own sandwich spreads for my kids to lessen the cost of store bought and to give them better quality food so with peach season in full swing I thought, What better than Peach Butter? It’s a lot less sugar,no preservatives , and none of the “other stuff added”. Besides, you cant just buy a jar of peach butter like you do apple butter..so here we go!
First, make sure you have all the materials necessary for this project. You don’t want to get to a step and ..oops..forgot to get this!
Homemade Canned Peach Butter Recipe
INGREDIENTS:
- 4 pint mason jars or 8 half pint jars with lids and rings
- Stockpot with lid big enough to hold jars
- 6 lbs fresh peaches rough chopped and pitted: local grocery store or farmers market
- 4 cups white sugar
- Canning set with funnel,jar grabbers,knife/head space ruler and magnet stick
- Canning set with funnel,jar grabbers,knife/head space ruler and magnet stick
STEP 1
Wash and rough chop your peaches,discarding the seeds.
Add peaches and about ¼ cup of water to large pot on stove and cook on medium until the peaches are softened and have released a lot of their juice.
STEP 2
Working in batches, transfer peaches to blender and pulse until you have no big pieces left and continue to do with the remaining peaches until all of your peaches have been blended. You should have 8 cups of peach puree.
STEP 3
Return peach puree to pot and add 4 cups of sugar and mix well. Cook over low-med heat and stir frequently to prevent scorching on the bottom of the pot. It will take about 20-30 minutes for the mixture to thicken.
STEP 4
While peach and sugar mix are reducing down, fill your canning pot with water and your jars to sterilize. Bring to a simmer and hold until ready to fill. In another smaller pot add your jar lids and hot water (Do Not Boil) and hold until ready to use.
STEP 5
When peach mixture has thickened up to your desired thickness then reach into the pot of simmering water with your jar grabbers and empty the water into the pot and set jar on the counter. fill jars with mix using your wide mouth funnel leaving ¼ inch head space. Gently run your plastic knife around the inside of the jars to “burp” them. You don’t want any air bubbles in the jars. It could cause them to spoil. Wipe the rims of the jars with a wet paper towel or clean rag and retrieve a lid from the warming pot with your magnetic stick and seal jar with lid and screwband. Just finger tighten. Repeat until all your jars have been filled.
STEP 6
Lower your sealed jars into the simmering water and put the lid on the pot and bring to a boil. Time them for 10 minutes and then remove them to a towel on the table in a draft free area. After a few minutes you will hear the “PING” of the lids vacuum seal and then you need to let them rest for 24 hours to cool. If the jars didn’t seal you can put them in the fridge and use them within about 3 weeks. Also you could use a fresh lid and make sure the rims are cleam and reprocess to try to get it to seal again.
I hope I have inspired you to start canning and making your own jellies. As you can see it really is simple and better for you.
HAPPY CANNING!
Like this peach butter? If you love peaches, make sure to check out our collection of Peach Recipes!
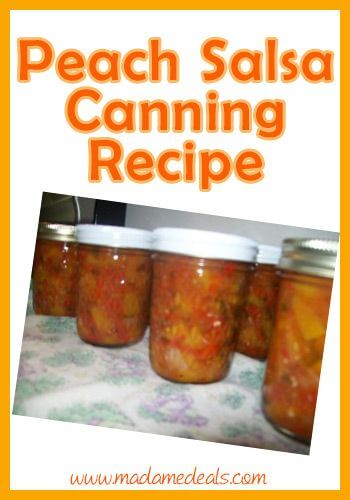
Canning Recipe for Peach Salsa
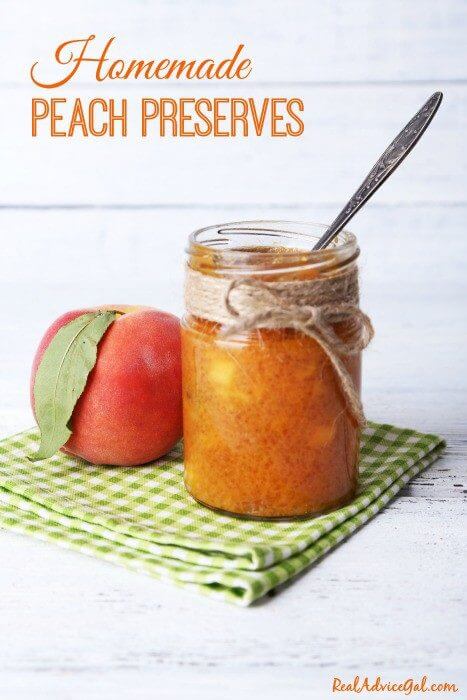
Homemade Peach Preserves Recipe

Don’t forget to check out our collection of yummy and easy to make Recipes, if you have kids get them into the kitchen with our Recipes Kids Can Make!
Do you love to write? Or can do crafts or have fun ideas for articles. MadameDeals is hiring! Apply now! Check out my >>> Job Board

Homemade Canned Peach Butter
Ingredients
- 4 pint mason jars or 8 half pint jars with lids and rings
- Stockpot with lid big enough to hold jars
- 6 lbs fresh peaches rough chopped and pitted: local grocery store or farmers market
- 4 cups white sugar
- Canning set with funnel jar grabbers,knife/head space ruler and magnet stick
- Blender or food processor
Instructions
STEP 1
- Wash and rough chop your peaches,discarding the seeds.
- Add peaches and about ¼ cup of water to large pot on stove and cook on medium until the peaches are softened and have released a lot of their juice.
STEP 2
- Working in batches, transfer peaches to blender and pulse until you have no big pieces left and continue to do with the remaining peaches until all of your peaches have been blended. You should have 8 cups of peach puree.
STEP 3
- Return peach puree to pot and add 4 cups of sugar and mix well. Cook over low-med heat and stir frequently to prevent scorching on the bottom of the pot. It will take about 20-30 minutes for the mixture to thicken.
STEP 4
- While peach and sugar mix are reducing down, fill your canning pot with water and your jars to sterilize. Bring to a simmer and hold until ready to fill. In another smaller pot add your jar lids and hot water (Do Not Boil) and hold until ready to use.
STEP 5
- When peach mixture has thickened up to your desired thickness then reach into the pot of simmering water with your jar grabbers and empty the water into the pot and set jar on the counter. fill jars with mix using your wide mouth funnel leaving ¼ inch head space. Gently run your plastic knife around the inside of the jars to “burp” them. You don’t want any air bubbles in the jars. It could cause them to spoil. Wipe the rims of the jars with a wet paper towel or clean rag and retrieve a lid from the warming pot with your magnetic stick and seal jar with lid and screwband. Just finger tighten. Repeat until all your jars have been filled.
STEP 6
- Lower your sealed jars into the simmering water and put the lid on the pot and bring to a boil. Time them for 10 minutes and then remove them to a towel on the table in a draft free area. After a few minutes you will hear the “PING” of the lids vacuum seal and then you need to let them rest for 24 hours to cool. If the jars didn’t seal you can put them in the fridge and use them within about 3 weeks. Also you could use a fresh lid and make sure the rims are cleam and reprocess to try to get it to seal again.

These are the tools you will need.
I hope I have inspired you to start canning and making your own jellies. As you can see it really is simple and better for you.

Cook, Baker, Phototaker, Fitness Mover and Shaker, Cupcake Tester, Deal Maker, Adventurous Undertaker, Do Good “Deeder”, Teacher, Mom, Wife, Patriot for Life & Giver of Good Advice – RealAdviceGal


