DIY Halloween Marquee Letters
Add a touch of spook-tacular flair to your Halloween decor with our DIY Halloween Marquee Letters, a fun and illuminated project that’s bound to enchant trick-or-treaters and party guests alike!
DIY Halloween Marquee Letters
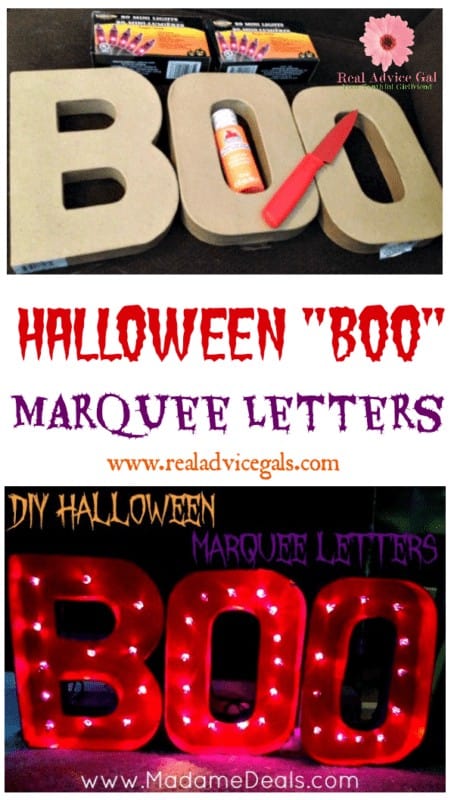
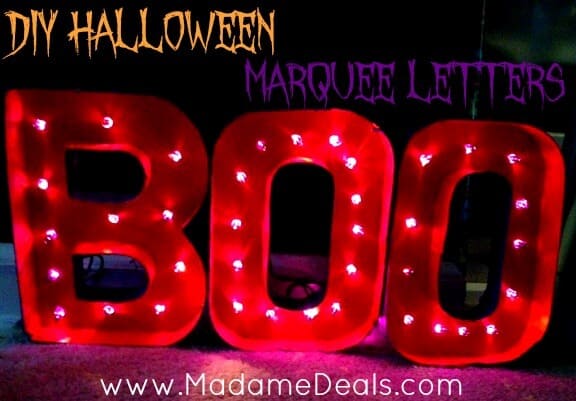
If you are looking for a fun decoration for your house this Halloween season, you must try these DIY Halloween Marque Letters! These were super easy to make, and look really awesome in the light or the dark! I had seen a decoration like this at a popular store for over $30, and I just didn’t have it in the budget, so I thought of how I could make them myself! This entire project cost under $10 for me. This project took me about an hour and a half to finish (most of that time was spent on the paint drying) and is a perfect way to add a little fun to your Halloween decorations this year!
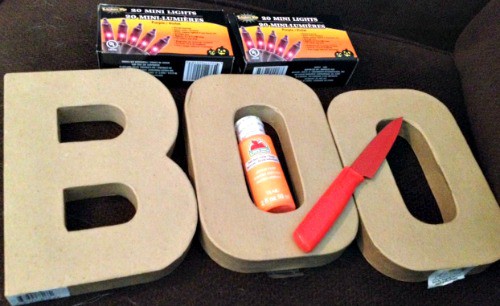
Here is what you will need to make these DIY Halloween Marquee Letters:
- Cardboard letters. (You could do “boo” like I did, or “eek!” if you would like! I got mine on sale for $1.99 at Joann’s)
- 2 colors of paint. (I chose purple and orange)
- 2 boxes of mini lights. (I got mine from the dollar tree, so only $1 each box!)
- A knife (or even better, an X-acto knife if you have one!)
Here is how you make these DIY Halloween Marquee Letters:
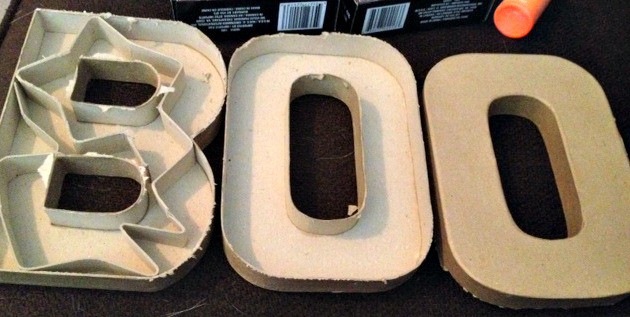
First, you will cut the face off of each cardboard letter. Inside you will see the filling, just take it out.
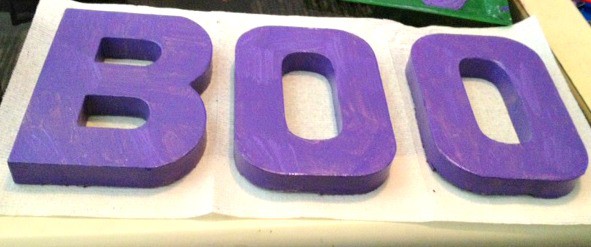
Next, paint the outside of your letters with one of the colors you picked. Let dry completely! Go over the color again if needed.
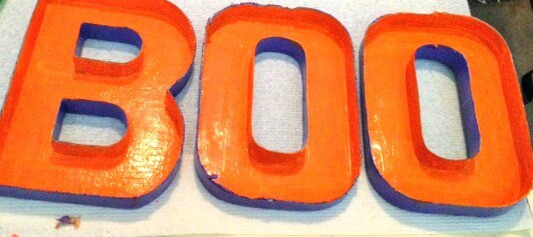
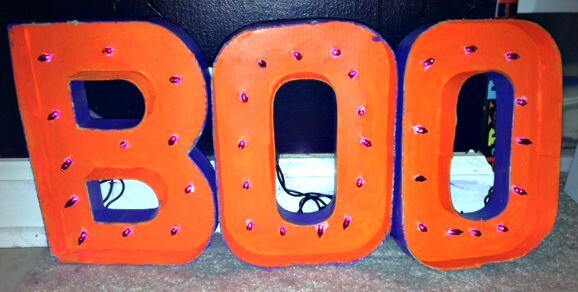
Then, paint the inside of your letters, making sure to paint the raised inside parts of the letters as well. If you are using a lighter color like I did, it will take several coats to achieve the brightness you will want. Let dry completely before starting the next step.
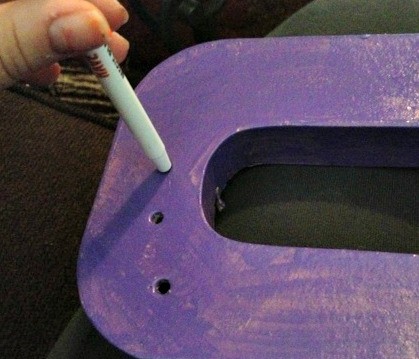
Then, Take a pen, and poke holes around your letters, about an inch apart. (Tip: make sure you only poke as many holes as their are lights on your strand.) Do this to all your letters.
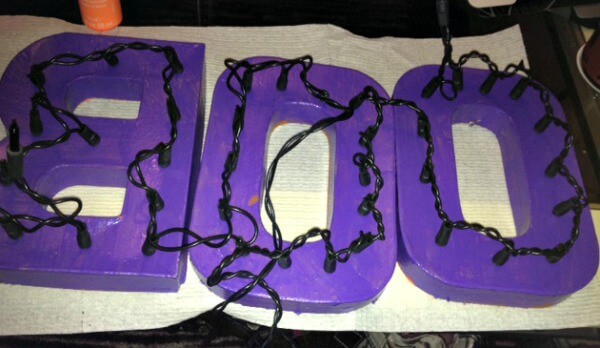
Next, you will take your lights and poke them through the holes you made and make sure they fit snugly into the holes. Go all the way around your last letter, and then connect it to the next letter. (I suggest starting with “o” if you are doing “Boo” or “k” if you are doing “eek”. It will be easier to connect the lights that way.)
Last, Make sure you have filled all of your holes with lights, and that all lights work! (I would test the lights before you assemble them in the holes, I didn’t do this, and had to pull them ALL out to find a broken light.)
These DIY Halloween Marquee Letters turned out SO cute, and easy to make, I think I’m going to start making them for every holiday! Next I’m going to do “HOHOHO” for Christmas!

Easy Halloween Sugar Skull Make Up for Kids
Easy Halloween Makeup for kids: Peacock edition
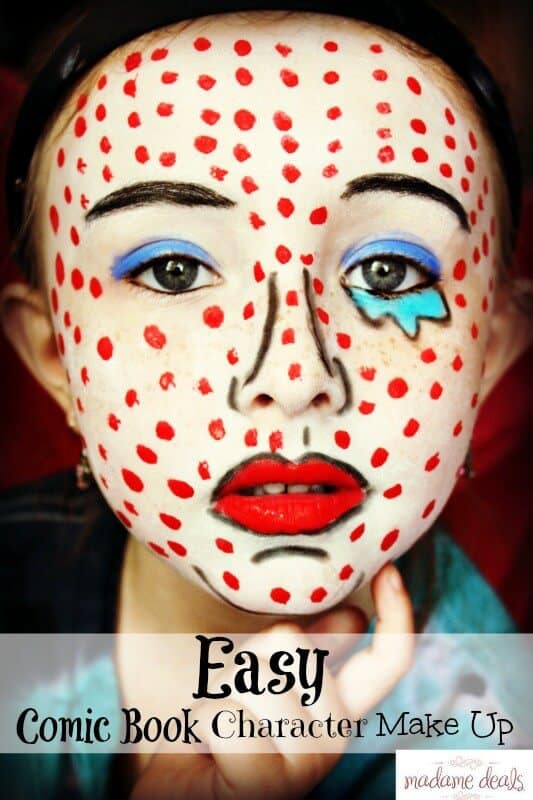
Comic Book Character Make up for Kids
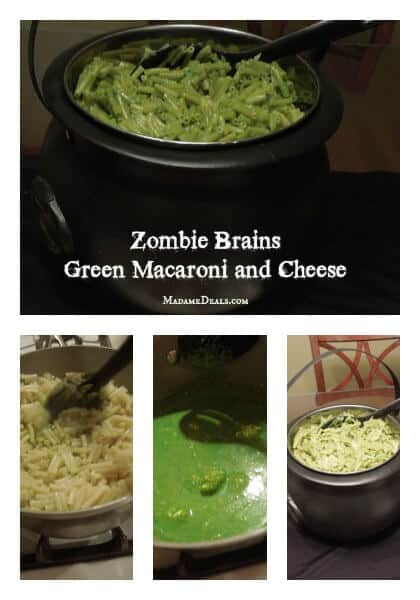
Zombie Brains Halloween Green Macaroni and Cheese Recipe
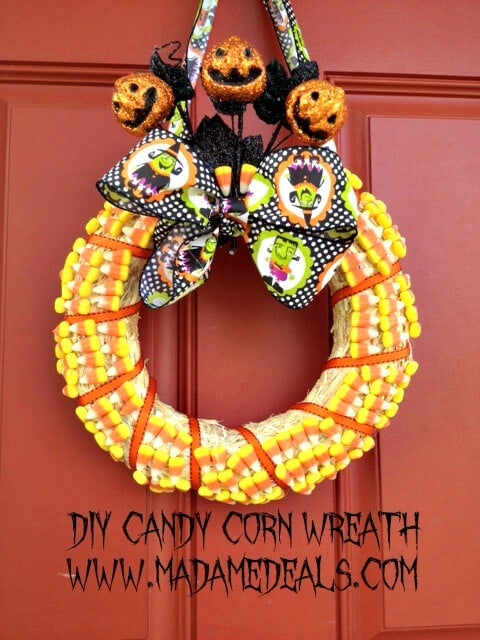
DIY Candy Corn Wreath Halloween Decoration
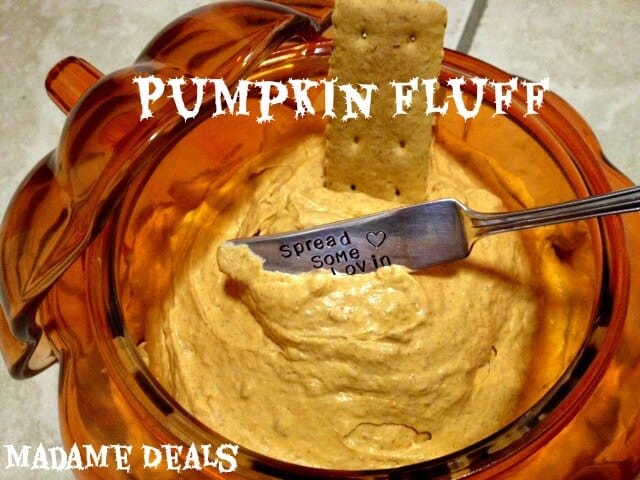
Kids Halloween Pumpkin Fluff Recipe
Halloween Recipes: Meringue Ghosts

Cook, Baker, Phototaker, Fitness Mover and Shaker, Cupcake Tester, Deal Maker, Adventurous Undertaker, Do Good “Deeder”, Teacher, Mom, Wife, Patriot for Life & Giver of Good Advice – RealAdviceGal


